/* */ Beulah Bee: stitching
Showing posts with label stitching. Show all posts

August 27, 2022

Love This Life

Greeting Card

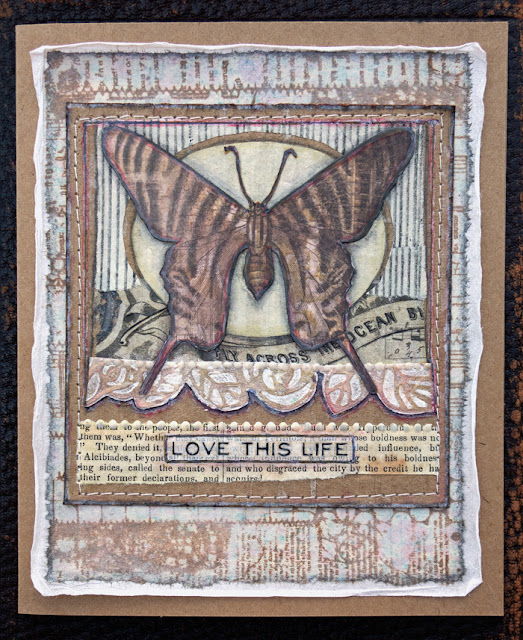
Prompted by Simon's Monday challenge (Mixed Media), I made a card using kraft cardstock, layers of tissue papers (one stamped), a piece of delaminated cardboard, book paper, Tim Holtz Aviary Collage Paper, an embossed scrap (Roses Texture Fade) and the centerpiece is a moth clipped from the Wallflower paper stash.

I save most scraps from previous projects because they always come in handy for projects like this. 

I used a variety of inks and markers to tint/distress and embellished with a Remnant Rub, machine stitching and Nuvo Vintage Drops.

As always, I hope this post finds you well and happy and I appreciate your visit.

Until next time, take care.

Stamp credit: Carabelle Studio Stitched Mixed Media Background

May 21, 2022

Sweet Life

This piece was an exercise in texture using a copy of a vintage photo of my great aunt Esther (in the foreground) and a friend.

The photo was hand-tinted, mounted off-center behind tinted and embossed mulberry paper (Botanical Texture Fade), stenciled with script using texture paste (Finnabair Read My Letter) and anchored with tinted book paper and a piece of crochet. The embellishments include lots of hand and machine-stitching, dots of dimensional paint, a vintage button, satin ribbon streamers and a Remnant Rub.

I'm linking up to Simon's Add Texture challenge.

As always, I hope this post finds you well and happy and I appreciate your visit.

Until next time, take care.
May 10, 2022

Daylight Dreams

Greeting Card

Sharing a greeting card today that was an experiment using a white Uniball Signo gel pen (first time using one). After stamping (Simon's Sunshine Flowers) with gray archival ink on a scrap of Tim Holtz Paper Stash (Memoranda), I filled-in the image with the pen then applied tinting over the top.

The gel pen ink isn't waterproof so I had to isolate the layer with an aerosol acrylic medium. Tinting became more challenging now that the paper lost it's absorbancy but at least the white ink didn't run.

I glazed over the image with some original, liquid Clear Rock Candy Distress Stickles (unfortunately, no longer available) and it provided a nice sheen with subtle glittering (very vintage) and also darkened the colors. The text is a Clippings Sticker.

Would I use this technique again? Yes, it's much easier to use a pen over a paint brush to fill-in detailed stamps like this one. I did use a permanent fixative for the isolation coat because I didn't have the "workable" kind so next time I'll try the later to see if there's a difference when it comes to applying color over the top.

I could just use markers, colored pencils, etc., but what I'm seeking is a nice white background when stamping on pre-printed paper so that the colors will pop.

A side note on Clear Rock Candy: I recently bought the dry form that comes in a jar that is sprinkled over any wet medium. I plan to do some experimenting but I'll be hard pressed to replicate the very liquid, easy-to-spread medium that you just squeezed out of the applicator bottle it originally came in.

Ranger doesn't make any of the liquid Distress Stickles any more but, believe it or not, I still have usable bottles that haven't dried out over the years like the non-Distress Stickles do. They came in squeeze bottles with a larger opening on the applicator tip and since I kept some of these empty bottles, well, stay tuned....

As always, I hope this post finds you well and happy and I appreciate your visit.

Until next time, take care.

April 09, 2022

Easter Greetings

Greeting Card

Welcome to a longer post today to explain my inspiration for this greeting card and to share some family memorabilia.

It was made with an old pillow case scrap and I traced a design that was machine- and hand-stitched, tinted with watercolors and framed on texture-embossed mulberry paper.


I took my inspiration from a collection of vintage embroidered postcards sent to my great Aunt Esther by her brother (my grandfather) from France in 1918 when he was a soldier during World War I.


The cards were made with machines that imitated hand embroidery and were provided with patriotic, romantic or religious messages. They were sent home by the officers and soldiers that lived and fought in the trenches of northern France. You can learn more about them here.


These were mailed in an envelope to protect them, were lovingly stored for more than 100 years and are in excellent condition. One has an inscription on the back which reads, "Dear Esther, the money enclosed is worth 17-1/2 cents American money. That's what these postcards cost a piece."

It's worth noting that my aunt was an avid postcard collector so I expect she was overjoyed to receive them. Though her greatest joy, I'm sure, was when the war ended and he returned home. My grandfather was very young when he served and the experience had a detrimental affect on his mental health.


My hope for Easter this year is to see an end to the war in Ukraine and I will pray for it.

I'm linking to Simon this week for their Easter/Spring challenge and my card will be mailed to my good friend, Thelma, who introduced me to card making many years ago.

As always, I hope this post finds you well and happy and I appreciate your visit.

Until next time, take care.

H A P P Y   E A S T E R !

March 06, 2022

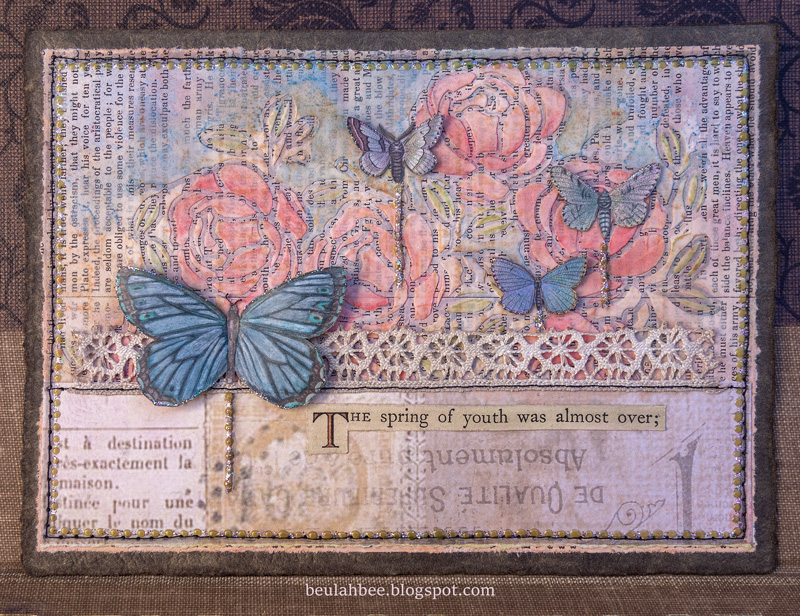
The Spring of Youth

Greeting Card

I made this card by stenciling with paste over a book page then tinting it with inks. The butterflies were cut from scrap book paper. I stitched it to a card and used dimensional dots and glitter for accents.


I'm linking up to Simon for the weekly challenge, "Use At Least One Stencil."

As always, I hope this post finds you well and happy and I appreciate your visit.

Until next time, take care.

February 23, 2022

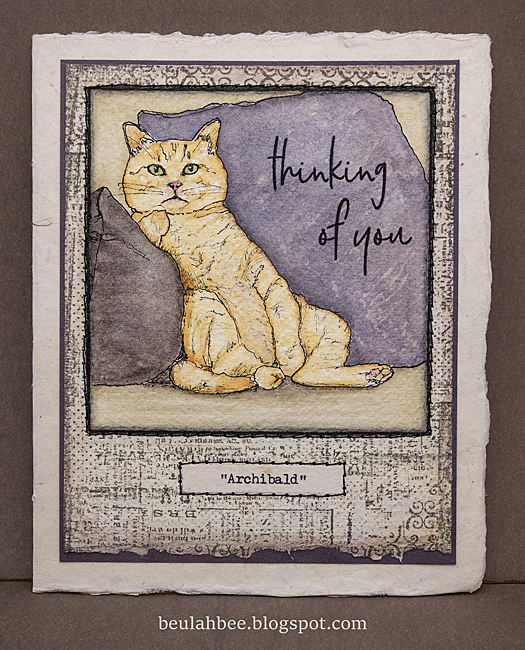
Archibald

Greeting Card

I came across an image in a woman's magazine that inspired this greeting card. I used a technique where you make a grid over the original with a smaller scale version on the support you plan to transfer to and took these photos to illustrate.

Here's a link to a video tutorial if you like to know more about this technique.

I used a fine quill pen nib and black india ink to go over my pencil drawing. Then it was simply a matter of tinting it with watercolors.

I finished it off by stamping a patterned border and a greeting. I made a typewritten "portrait" label and machine-stitched it to a piece of mulberry card stock.

As always, I hope this post finds you well and happy and I appreciate your visit.

Until next time, take care.

October 27, 2021

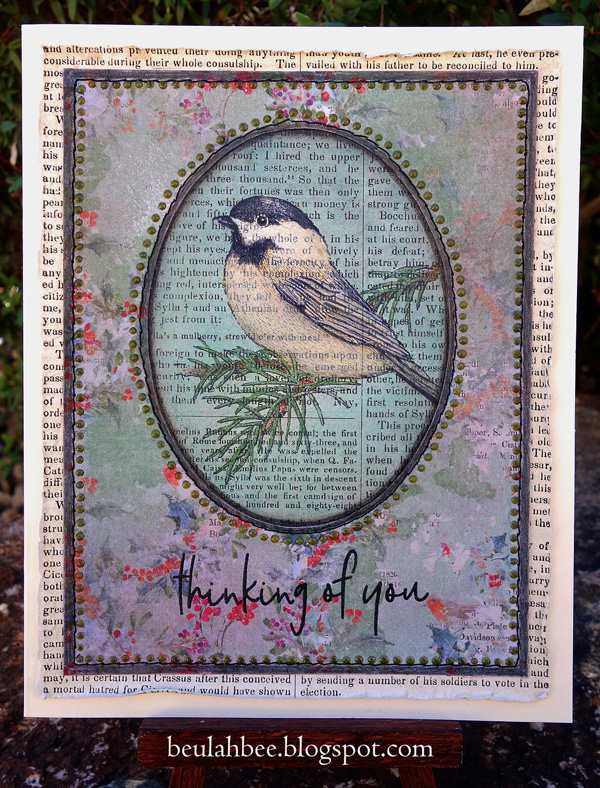
Chickadee

Greeting Card

First time using a new stamp (Whimsy Chickadee), one I had my eye on for awhile, but was a little disappointed once received because it's not trimmed and doesn't have an image on the top side to help with alignment.

I stamped on book paper, tinted with colored pencils and Distress inks, and placed the image behind an oval cut from scrapbook paper (also distressed). I machine-stitched the borders, darkened the edges for accent, added crystal drops from Nuvo and heat-embossed the text.


I'm linking up to Simon's "thinking of you" challenge.

As always, I hope this post finds you well and happy and I appreciate your visit.

Until next time, take care.

September 23, 2021

Discover Yourself

The pleasure I get from experimenting--deciding to color a stamp in an unconventional way, slapping a figure on top that seems to work with it, then digging-up suitable text--that's what I call a good day.

I can't imagine what my readers make of these concoctions but I will say that going a little outside the box can be quite fun.

I'm linking to Simon for this week's challenge which is to "stitch it."

Stamp credit: Simon Sunflower Garden

As always, I hope this post finds you well and happy and I appreciate your visit.

Until next time, take care.

April 11, 2021

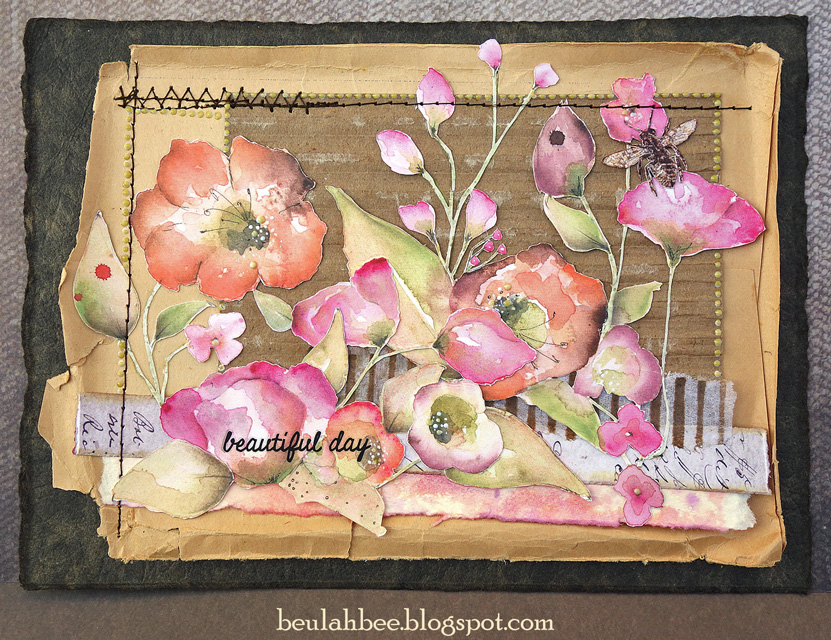
Beautiful Day

Greeting Card

Sharing an unconventional greeting card today--its support is a small vintage portrait folder with layers of papers--prompted by Simon's Monday challenge.

The flowers were fussy-cut from a paper pack called "Let Your Soul Bloom" (Moda Scrap 2019) grounded by strips of scrap paper, some delaminated cardboard and the backside of a really old envelope.

A bit of machine stitching and Nuvo Crystal Drops along with a Remnant Rub were used as embellishment.

As you can imagine, pasting all of this would have been a chore but I used a spray adhesive which makes it easier.

I'm sending this one to my good friend, Thelma, and it will need a padded envelope to survive the journey.

As always, I hope this post finds you well and happy and I appreciate your visit.

Until next time, take care.

December 29, 2020

Merry and Bright

 
  • Unless we make Christmas an occasion to share our blessings, all the snow in Alaska won't make it white. -Bing Crosby
  • Remember this December, that love weighs more than gold! -Josephine Dodge Daskam Bacon
  • There's nothing sadder in this world than to awake Christmas morning and not be a child. -Erma Bombeck
  • Then the Grinch thought of something he hadn't before! What if Christmas, he thought, doesn't come from a store. What if Christmas...perhaps...means a little bit more! -Dr. Seuss
  • Christmas is doing a little something extra for someone. -Charles M. Schultz
  • When we recall Christmas past, we usually find that the simplest things--not the great occasions--give off the greatest glow of happiness. -Bob Hope
  • Never worry about the size of your Christmas tree. In the eyes of children, they are all 30 feet tall. -Larry Wilde
Wherever you are, whatever you are facing, whatever your challenges or opportunities may be…may your days of Christmas be merry and bright.

December 15, 2020

Happy Holidays


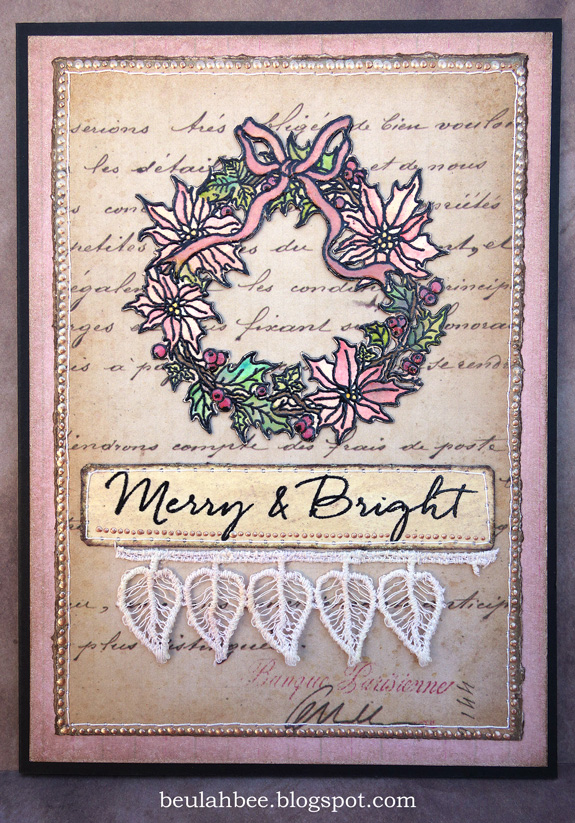
A greeting card to share today representing a milestone for me as it's my first creation since relocating my crafting space. Abandoning my old studio after almost 15 years was traumatic and because I had to downsize, I cleaned up and donated a lot of extra material. My new space is doable but I'm struggling to remember where I put stuff--I guess the easiest fix for that is to just starting making again!

For this card, I distressed the edges of printed papers and used some hand-stitching and Stickles on the border. The stamp is from Ellen Hutson (Mondo Holly by Julie Ebersole) which was altered quite a bit.

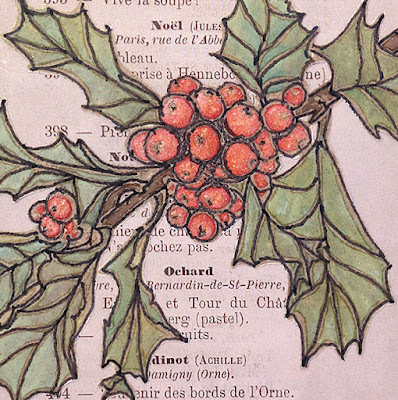
First I heat embossed it, then tinted it with Distress inks, ironed off the embossing, redrew the lines with a fine line marker, fussy-cut it and added Distress Rock Candy Stickles to the berries.

Happy Holidays, close-up

Happy Holidays, side-view

I plan to continue blogging about my creations (even though many bloggers have left the pack) because it serves as a kind of diary and good reference tool. Now that my numerous family projects/obligations are winding down, I have more time to create and will be able to post more regularly again. I also post snapshots of my blog entries on Instagram @123beulahbee for those who like to click-and-run ☺.

As always, I hope this post finds you well and happy and I appreciate your visit.

Until next time, take care.

June 14, 2020

Girlfriend


I would say my greeting cards look a lot like the tags I make, or a journal page, for that matter. Here I have assembled one using a hand-cut botanical print, a Found Relative and some Collage Paper (Tim Holtz) onto a book page stamped with a French postage mark. I machine-stitched a border and embellished it with 3D paint (Liquid Pearls).

Everything was tinted with Distress inks and I used a watered-down layer of off-white paint over the girls dresses to change their appearance.


I think a key element in this composition is the addition of dark shading behind the girls which gives it some dimension. And it was mounted onto a kraft paper card base which reinforces the vintage vibe.

As always, I hope this post finds you well and happy and I appreciate your visit.

Until next time, take care.

June 13, 2020

Craftman


This is Craftman, the super-hero who saves the day by helping artists create and play. And where there's play there's happy and the world could sure use a whole lot more of that right now.


The background was made using an emboss resist technique where I stamped (Tim Holtz Dots & Floral) with clear embossing ink and powder on a piece of light card stock. Then it was covered with black paint and wiped off the embossing before it was completely dry. Here's an old tutorial from the Tim Holtz blog where I learned the technique.

The map is a piece of Tim Holtz ephemera made thinner (almost see-thru) by peeling off the back and using a little water and my finger to rub away the paper bits.

Craftman (Tim Holtz Sideshow) was stamped on light paper with Vintage Photo Distress ink and fussy-cut. The flower pot was cut out of a coloring book.

It was mounted on a piece of light gray card stock and I machine-stitched the border. I'm linking up to Simon's Monday challenge--this week "it's a man thing."

As always, I hope this post finds you well and happy and I appreciate your visit.

Until next time, take care.

February 23, 2020

Tell Your Story


I've got this thing about seeing sky inside a frame so I played around with the idea this week and I'm linking this tag to Simon's Monday challenge, "Frame It."

The girl is a Baseboard Doll (Tim Holtz) that I stripped from her backing and you may have guessed that's a flower cut from the Wallflower paper stash.

The frame is a tiny die cut from Stampendous that I crackled with medium, the text is a Remnant Rub and I used Ranger's Liquid Pearls on the inside edge of the frame.


As always, I hope this post finds you well and happy and I appreciate your visit.

Until next time, take care.

December 08, 2019

12 Tags for Christmas 2019 - Christmastide


We've had a really rainy weekend here in the desert which made for a good time to get cozy in the craft room and make another Christmas tag.

I was channeling a vintage vibe with this one and used a page from an old German bible along with some fussy-cut paper from Graphic 45.


It was embellished with glitter glue, Glossy Accents and machine stitching and I used my typewriter for the text. I needed something to fill-in the bottom area and used a Stamp Collector stamp (Tim Holtz).

There's time to link yet again to Simon's Monday challenge for this week's "Let's Sparkle" theme.

November 24, 2019

12 Tags for Christmas 2019 - Twinkle


Making Christmas tag number two was a bit like decorating a cake! And since I used vintage buttons, I'm linking this one to Simon's Recycle challenge this week.


I began with a tag shape cut from some Tim Holtz Halloween paper (Abandoned) then I inked snowflake stencils with Versamark and embossed the shapes with clear powder.


The next step was to use a resist technique where you paint (or in this case, gesso'd) over the embossing and let it dry only slightly before wiping the paint off the embossed areas. Don't expect perfection with this technique--it's really meant for a distressed look.


My great Aunt Esther snipped many a button from her frocks over the years and I inherited quite a collection. I keep the little white buttons in one box and have another, bigger box with colored buttons in larger sizes. I gathered up an assortment and pasted them on.


I lightly tinted the background with Faded Jeans Distress Oxide and frosted the cake tag with glitter glues and dimensional paint (Scribbles and Stickles).


I always feel my tags need some kind of border. Since I used buttons, I reinforced the sewing theme by machine-stitching a mini zig-zag with green thread.

Stayed tuned for more tags--I appear to be on a roll--ha! Hope it lasts :-)

If you want to see my tags from Christmas pasts, here's a link.

October 15, 2019

This Happy Life


Thanks to Columbus, I had the day off yesterday and an opportunity to make something for Simon's Monday challenge (this week's theme is "Pink").

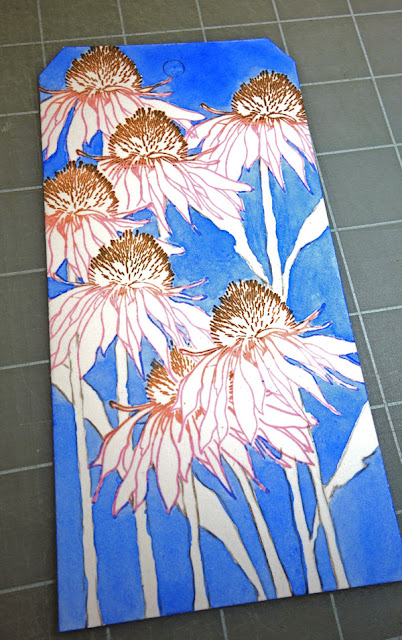
Nothing says pink like a coneflower so I made this tag by stamping on watercolor paper (Tim Holtz Flower Garden), the text is an old Remnant Rub, and the border was machine-stitched and dotted with Nuvo Crystal Drops.

Just a few things, technique-wise, that you might appreciate:


I'm sure you've seen the "no-line" technique when it comes to stamping an image that you plan to watercolor using a light shade of dye (water-based) ink so the lines disappear. But I like the lines! So for this tag, I stamped with archival inks using a pink, a tea stain, and a dark brown shade. The lines darkened somewhat after the watercoloring was applied.


Obviously, I had to do some masking to stamp this arrangement. But I didn't use the stems that come with the set and drew them on instead.

The photo above shows how I painted the background first using a juicy puddle of cobalt blue.


The bee was an after-thought. It was stamped onto a piece of tissue paper, cut-out, pasted on and then I dabbed a tiny bit of yellow paint on to its body.

It's also worth mentioning that I prefer to use a "hot-press" version of watercolor paper when I plan to stamp on it. Cold-press has bumps that I think make it harder to get a crisp image.

If you haven't tried watercoloring with rubber stamps, I can tell you it really is a lot of fun and very rewarding. Go for it!

September 24, 2019

Summer Mind


While yesterday was the first day of fall, my mind and my heart will stay in summer for many months to come.

Living in the desert means hibernating during the heat of June through September but when the temperature breaks in the fall, activity-wise it's more like the summer everyone else was having. Festivals begin, strolls through the neighborhood are possible again and sitting out on the porch--a long-lost luxury.

So yes, I'm in a "summer state of mind" and that was my inspiration for this tag.

I'll describe the layers:

  • Calligraphic scrapbook paper (Authentique Classique: Pretty) cut in the shape of a tag was tinted with Distress Oxides.
  • Botanical collage paper was pasted over the top and the flower petals and leaves were filled-in with gesso.
  • The bug is from the Stampers Anonymous Entomology set and was stamped with black archival ink. The wings were also filled-in with gesso using a tiny brush.
  • The gessoed areas were painted with inks. Besides helping with adhesion, the gesso makes the colors more vibrant.
  • The text was cut from an old book.
  • I think most tags need a border to frame it and machine stitching around the edges was used for that purpose here.
I'm linking up to Simon's Monday challenge--the theme this week is stitching and also to The Funkie Junkie Boutique whose challenge is to make a tag.

Look for me on TFJB later this week where I'll have a guest spot and a fun project to share. Thanks for stopping by!

May 29, 2019

Perfectly Happy


I was inspired by a post at Vintage Everyday that featured wedding photos during WWII and I used one of them for this tag.

It was framed for Simon's Monday challenge this week and also features a Hero Arts stamp from 2007 called Lace Flower Cluster which I used especially for their 45th anniversary Show & Tell Celebration.


After stamping, the lace flower was cut out and embellished with lines from a white Gelly Roll pen. I altered a Tim Holtz lace frame by peeling it from its baseboard backing, trimmed its shape a little and applied dots of Liquid Pearls to the edges. The background was made with Collage Paper.